


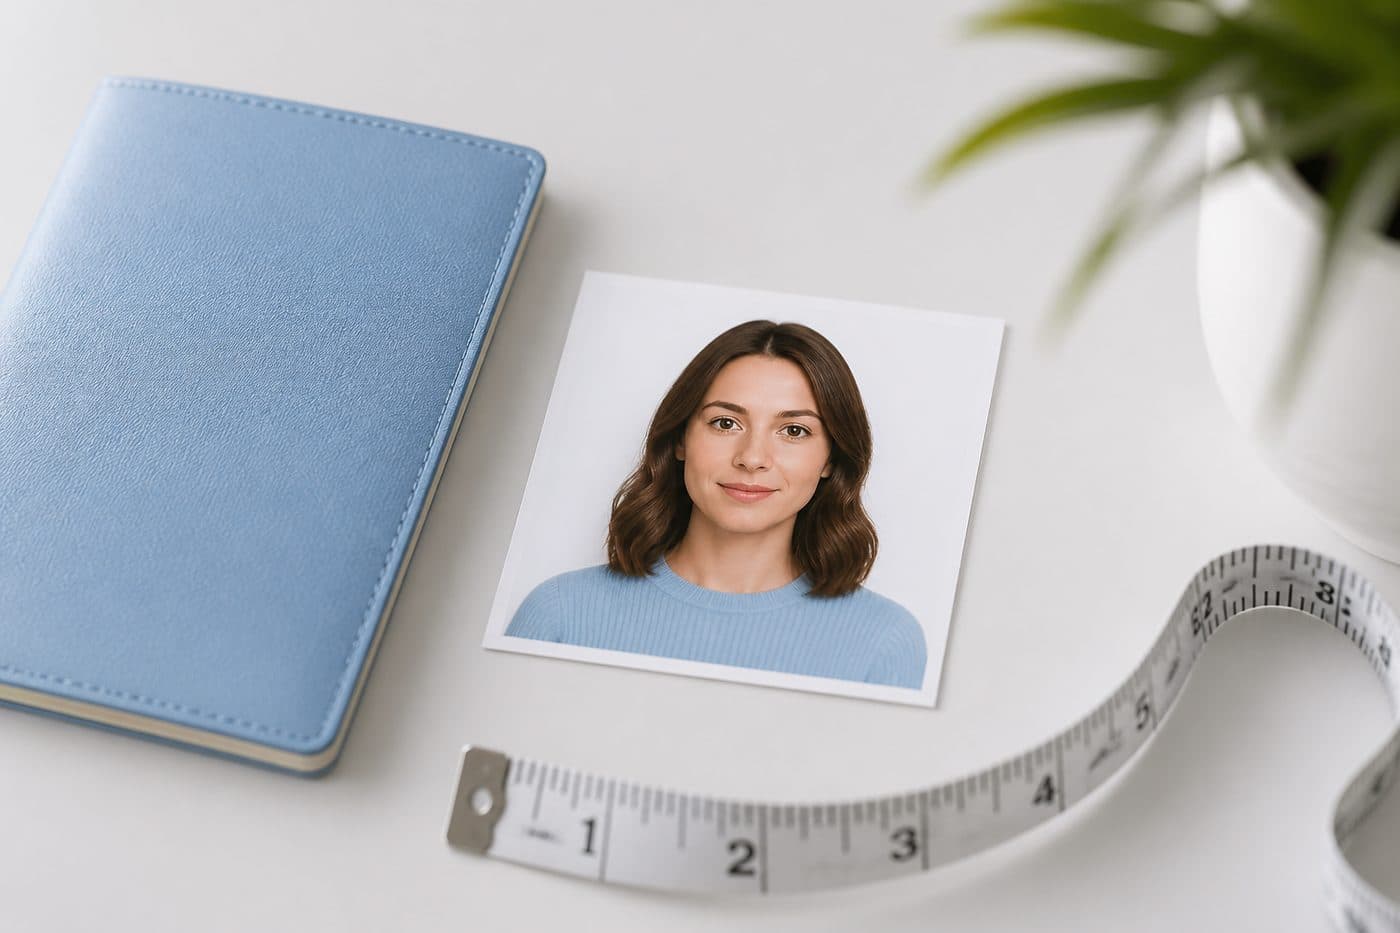
Errore di caricamento della foto visto DS-160: come risolverlo
CEAC «la foto non soddisfa i requisiti»: correggi il ritaglio 51 × 51 mm (2 × 2 pollici), il JPEG 600×600–1200×1200 e il limite di 240 KB.
Cosa significa l’errore
I caricamenti DS-160 passano dal Consular Electronic Application Center (CEAC). «Photo does not meet the requirements» non è una sola causa: il portale controlla insieme rapporto quadrato, pixel, peso, JPEG e a volte testa/sfondo.
Usa il nostro Stati Uniti Passaporto con IA per ritagliare l'immagine in 3 secondi.
Una X al posto della foto nella pagina di conferma significa che il caricamento è fallito. Correggi il file prima dell’appuntamento anche se allo sportello vorranno anche una stampa 51 × 51 mm (2 × 2 pollici).
Requisiti ufficiali della foto
- Formato documento applicato
- Allineamento del volto verificato
- Sfondo preparato
Dimensioni
2 × 2 in
Sfondo
Bianco
Foto digitale
602 × 602 px

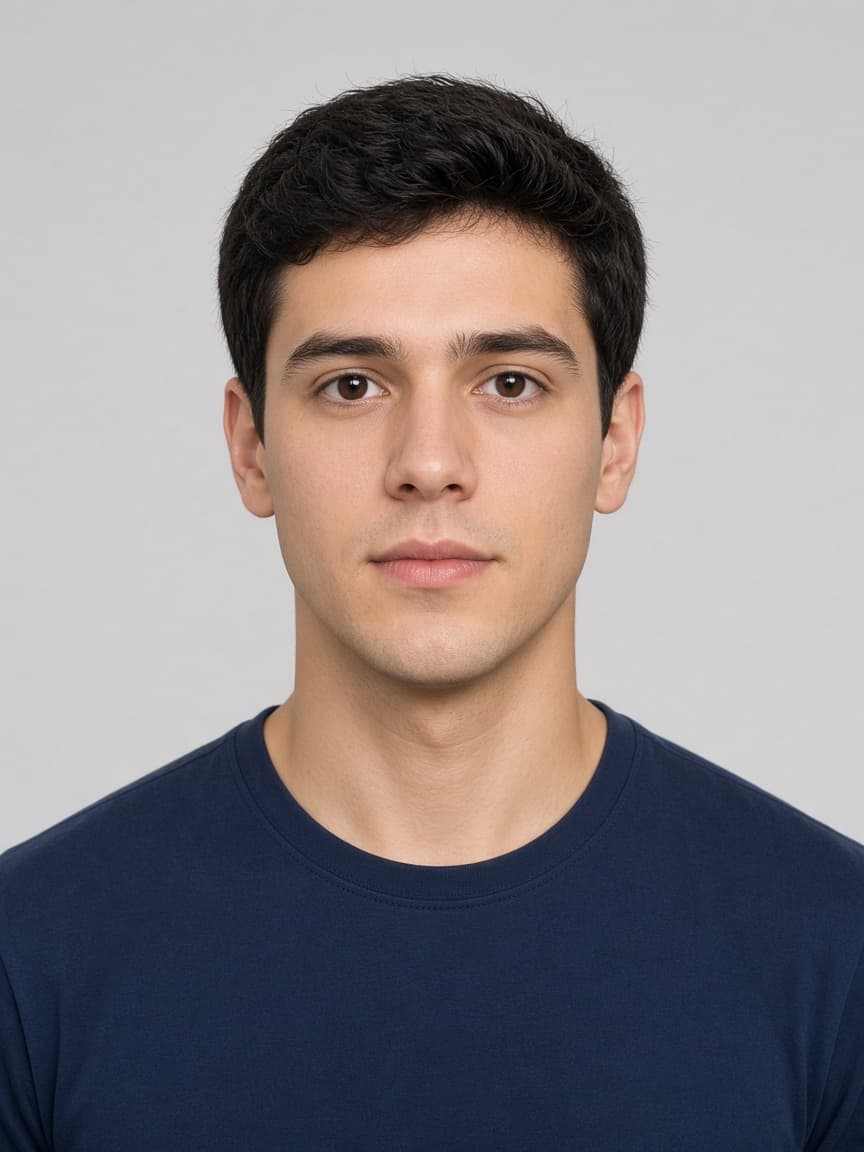
Specifiche digitali ufficiali (travel.state.gov)
Immagine quadrata: altezza = larghezza. Pixel minimo 600×600, massimo 1200×1200. Formato solo JPEG. Colore sRGB a 24 bit. Peso 240 KB o meno. Tieni la compressione intorno a 20:1 o meglio.
Un HEIC/PNG del telefono o un originale da 3–8 MB non passa. Ritaglia al quadrato e scala a 600×600 prima, poi scendi sotto i 240 KB: schiacciare la qualità per prima crea artefatti JPEG e un rifiuto diverso.
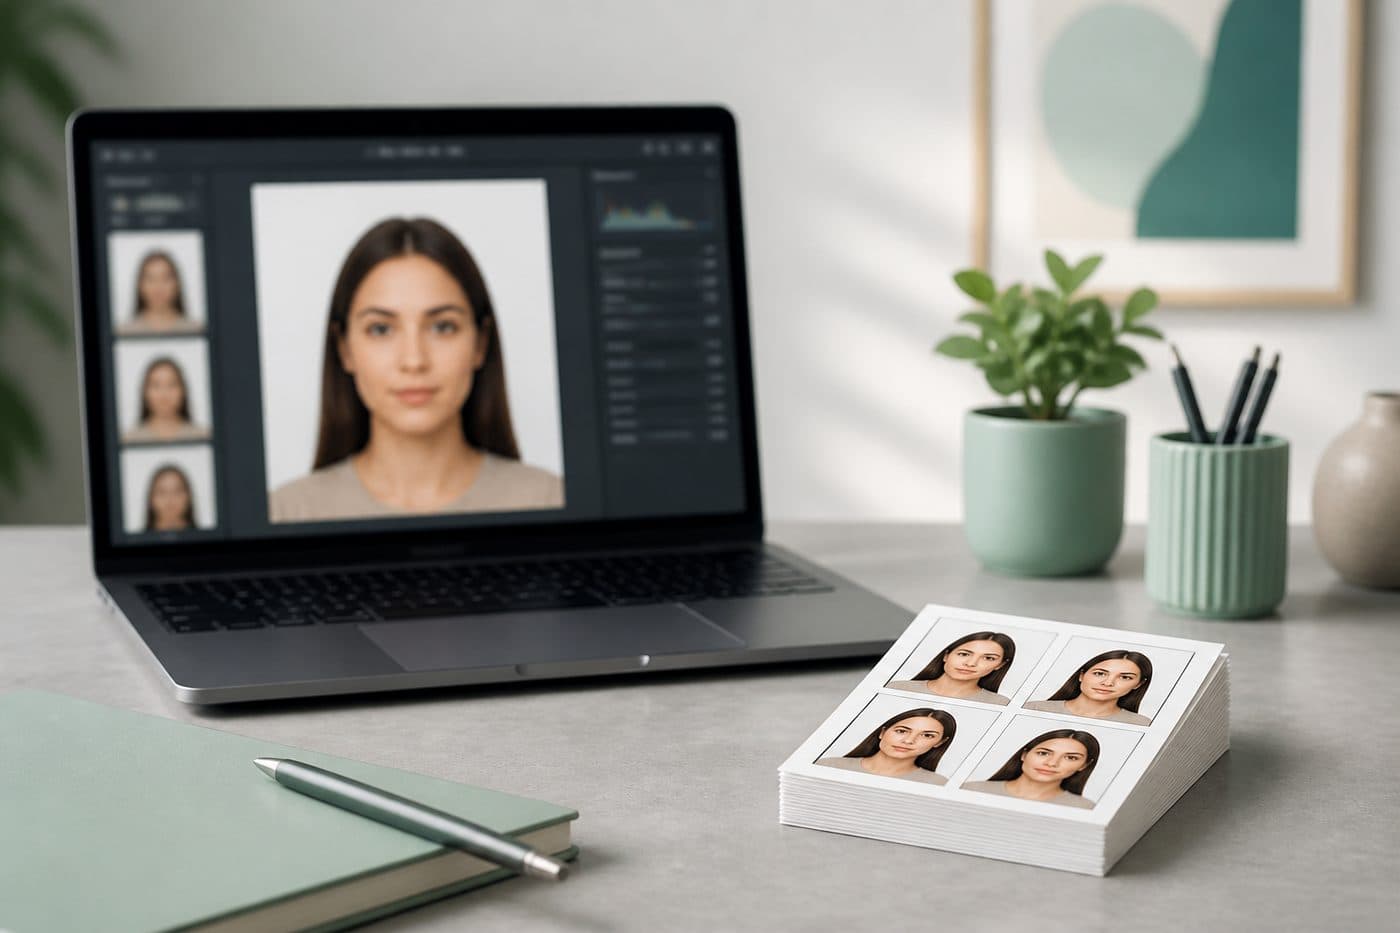
51 × 51 mm e dimensione della testa
La foto stampata di visto/passaporto USA è un quadrato di 51 × 51 mm (misura ufficiale 2 × 2 pollici). Sfondo bianco liscio o avorio. Testa dal mento alla sommità dei capelli circa 25–35 mm (1–1⅜ pollici); in digitale la testa deve occupare circa il 50–69% dell’inquadratura.
Niente occhiali (rara eccezione medica). Ultimi 6 mesi, espressione neutra, occhi verso la fotocamera. Un rapporto della testa sbagliato può essere rifiutato dall’ufficiale anche se il file è stato caricato.
Errori più comuni e la soluzione
Oltre 240 KB: riduci prima a un JPEG 600×600, poi comprimi. Non quadrata / sotto i 600 px: non caricare un selfie rettangolare né uno screenshot. HEIC: imposta l’iPhone su «Massima compatibilità» o esporta JPEG.
Sfondo non bianco / ombre: anche CEAC può fallire per questo. Sovracompressione: la sfocatura a blocchi non supera i controlli di qualità. Riesporta dall’originale: non ricomprimere lo stesso file piccolo.
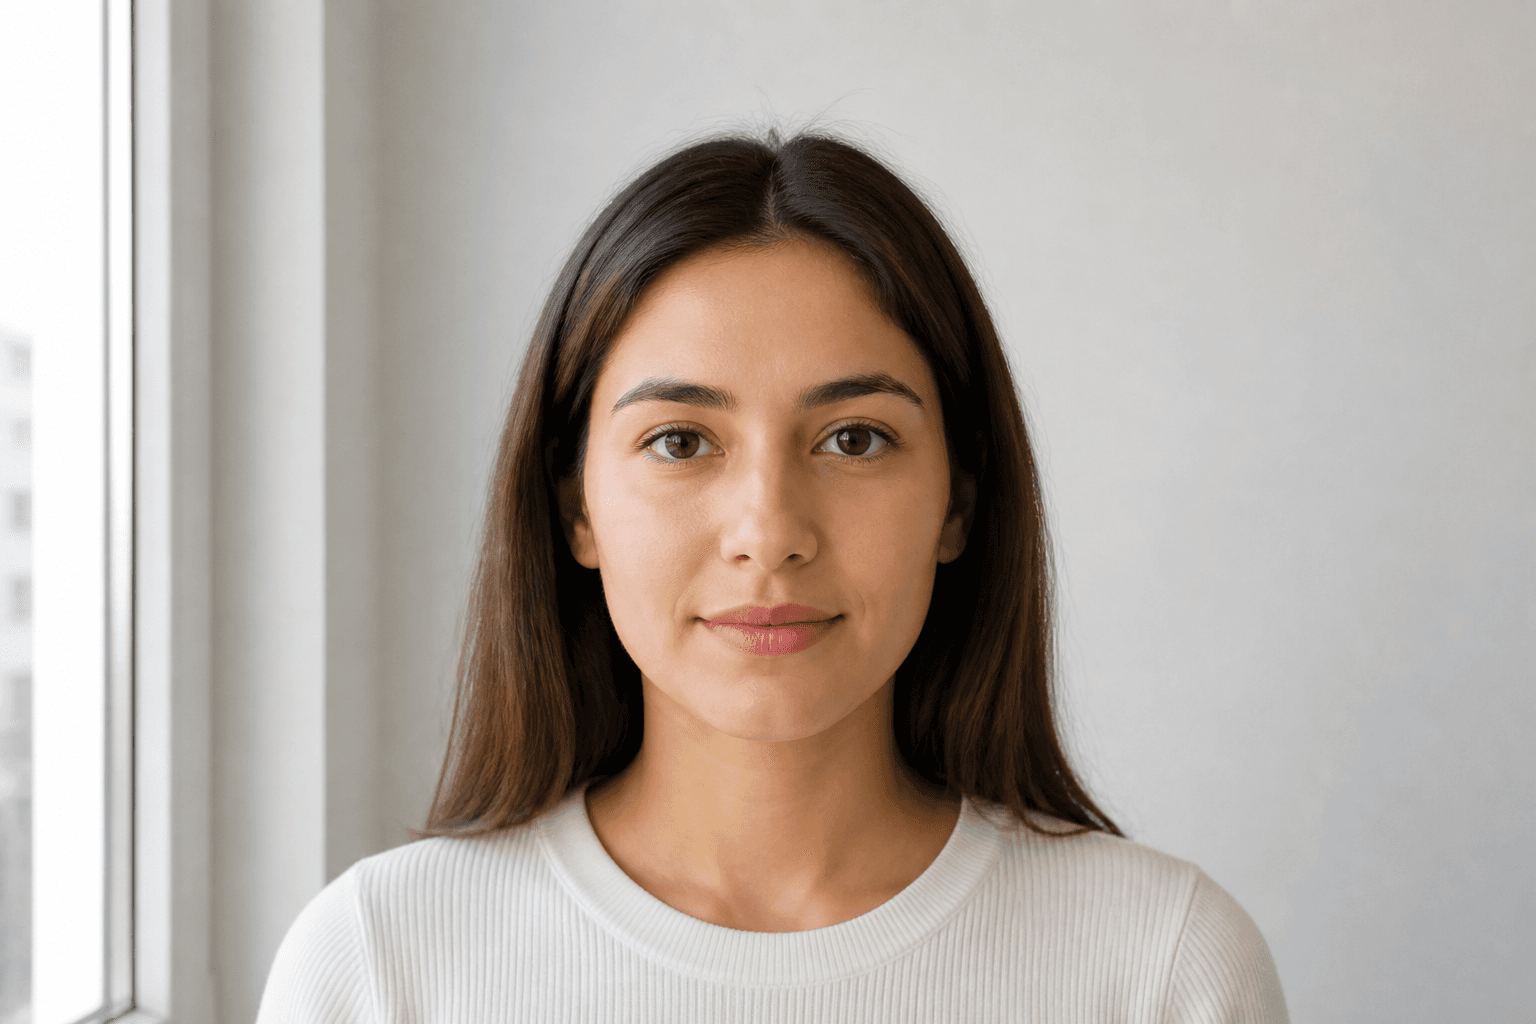
Passo passo: far passare il caricamento
- 1
Scatta o scegli un’inquadratura nitida frontale.
- 2
Scegli il documento visto / passaporto USA.
- 3
L’IA FotoPass applica il ritaglio 51 × 51 mm, lo sfondo bianco e il rapporto della testa.
- 4
Scarica un JPEG 600×600 sotto i 240 KB.
- 5
Caricalo sul DS-160 e verifica il viso nella pagina di conferma.
Se ottieni ancora una X, svuota la cache del browser, evita caratteri non ASCII nel nome file e tieni l’estensione .jpg. Stampa una copia opaca 51 × 51 mm (2 × 2 pollici) dallo stesso file per il colloquio.