


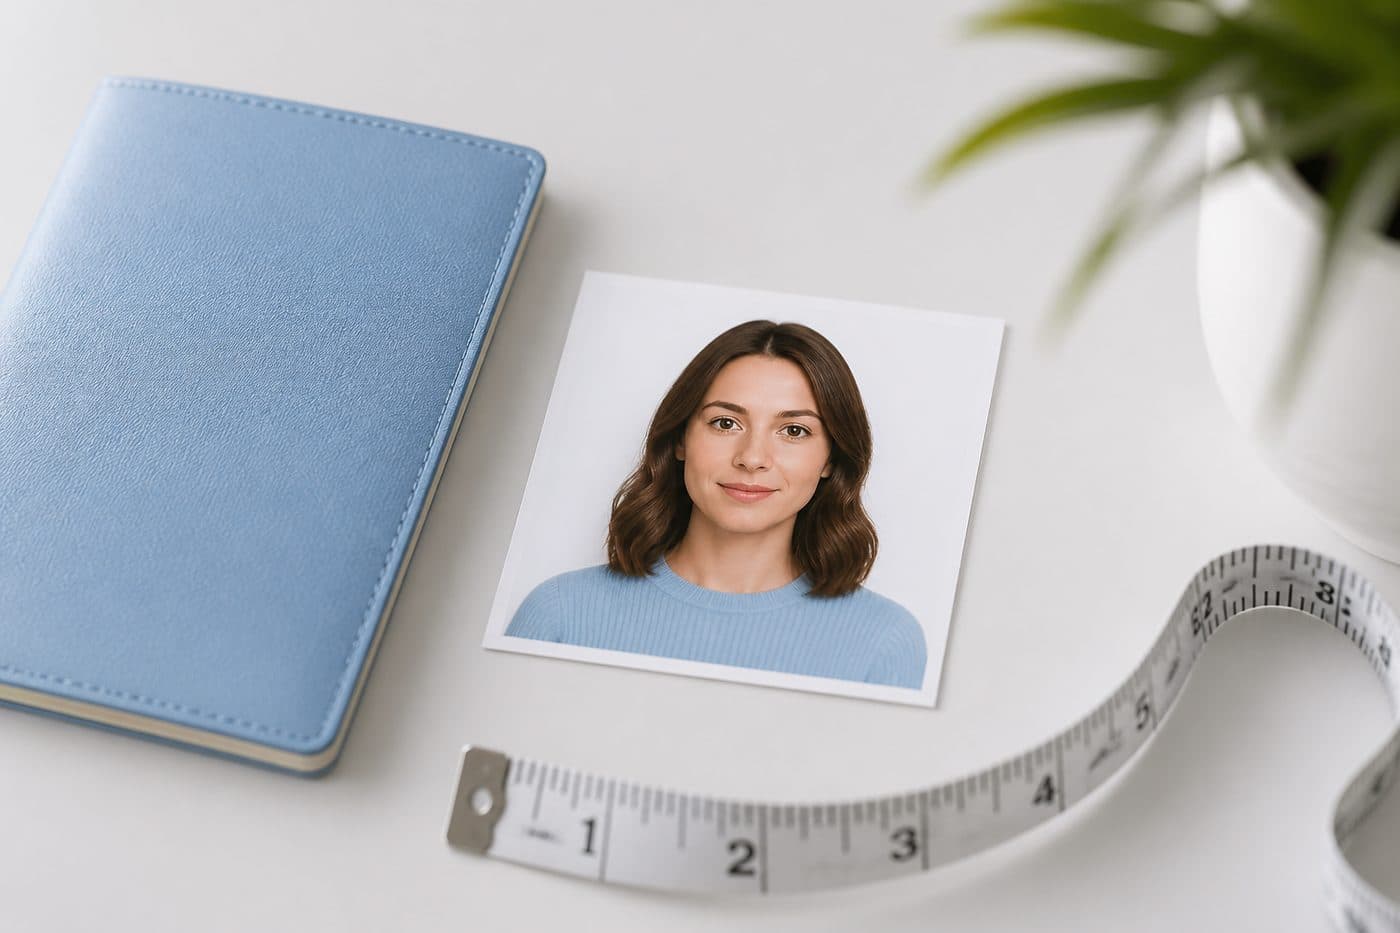
DS-160米国ビザ写真のアップロードエラーと直し方
CEACの「要件を満たさない」:51×51 mmの正方形、600×600〜1200×1200 JPEG、240 KB上限の直し方。
エラーの意味
DS-160はConsular Electronic Application Center(CEAC)経由です。「Photo does not meet the requirements」は一つの原因ではありません。正方形比率、画素、容量、JPEG、しばしば頭部と背景をまとめて見ます。
AI搭載のアメリカ合衆国 パスポートで、画像を3秒で自動トリミングできます。
確認ページで写真の代わりにXなら失敗です。窓口が51×51 mmプリントを求めても、予約前にファイルを直さないと申請が止まります。
公式の写真要件
- 書類サイズを適用済み
- 顔の位置を確認済み
- 背景を準備済み
サイズ
2 × 2 in
背景
白
デジタル写真
602 × 602 px
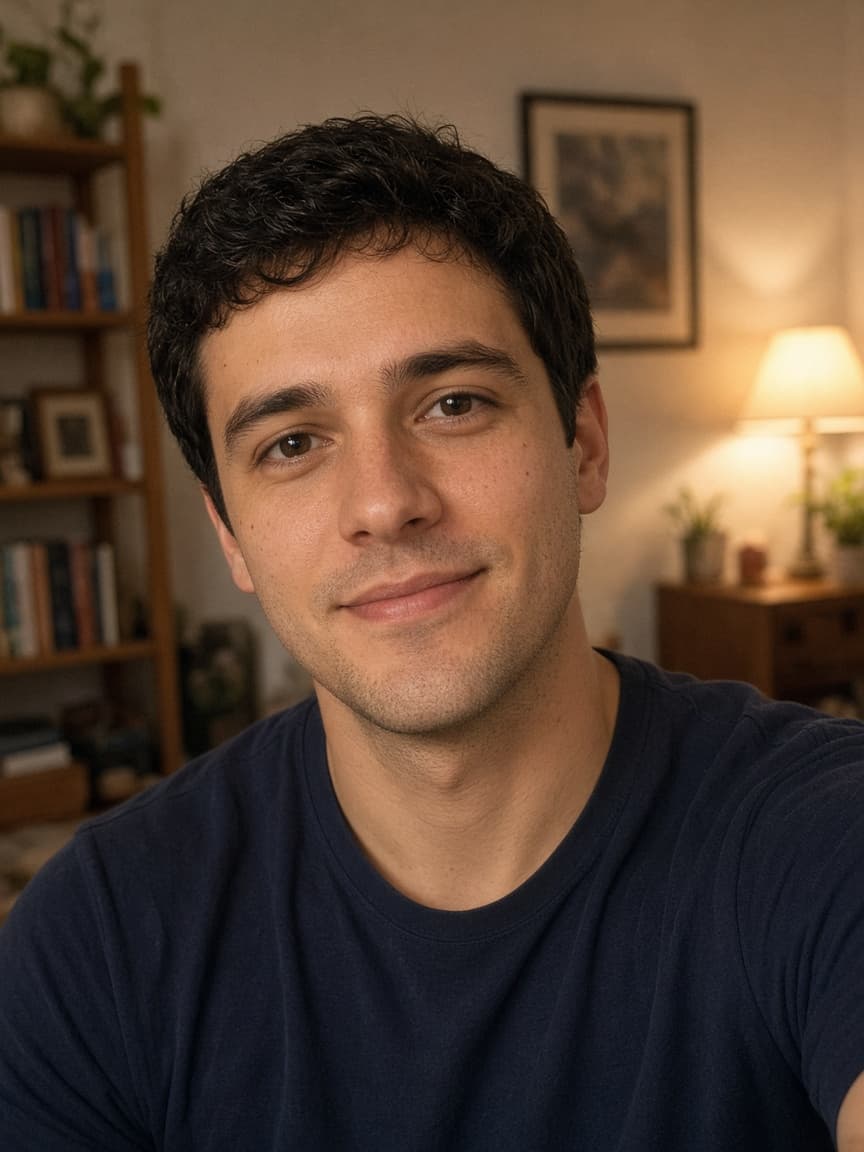
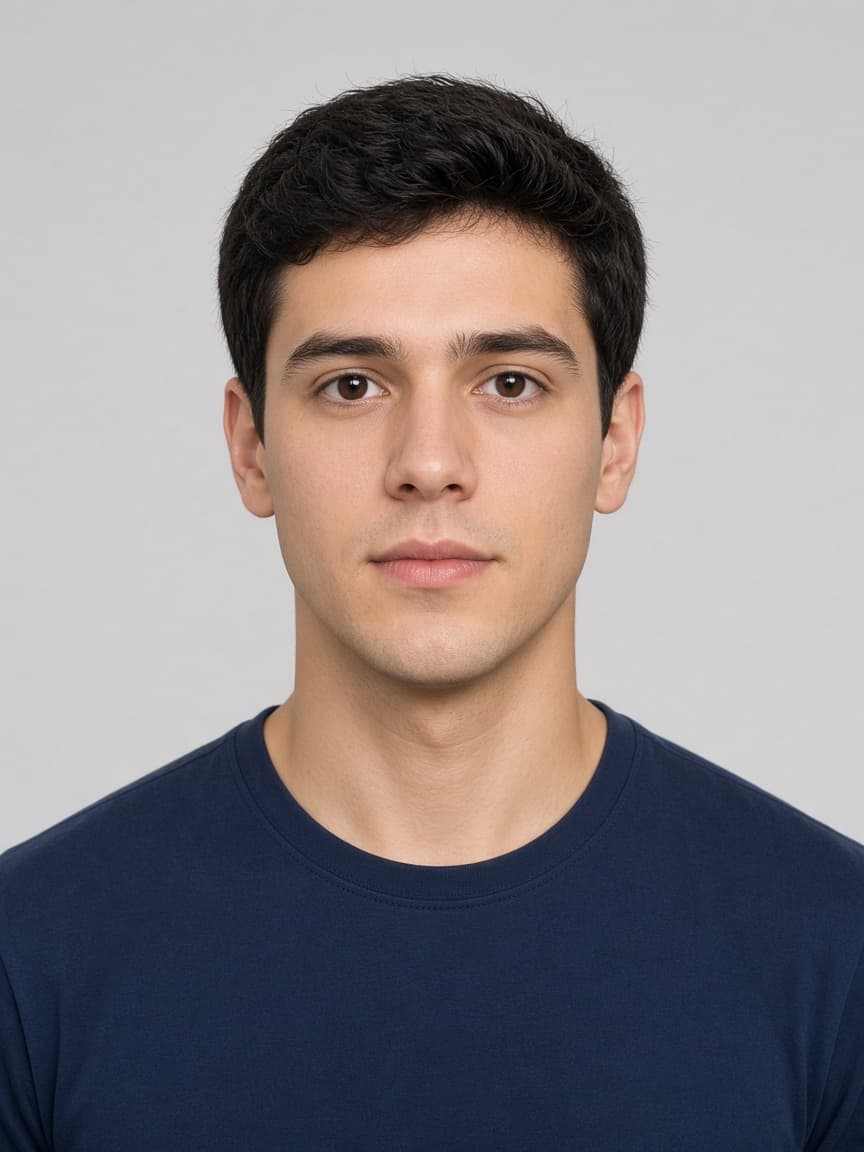
公式デジタル仕様(travel.state.gov)
正方形:縦=横。画素は最小600×600、最大1200×1200。形式はJPEGのみ。24ビットsRGB。容量240 KB以下。圧縮はできれば20:1以下。
スマホのHEIC/PNGや3〜8 MBの原本は通りません。先に正方形に切り600×600へ縮小し、その後240 KB未満に。先に画質を潰すとブロックノイズで別の却下になります。
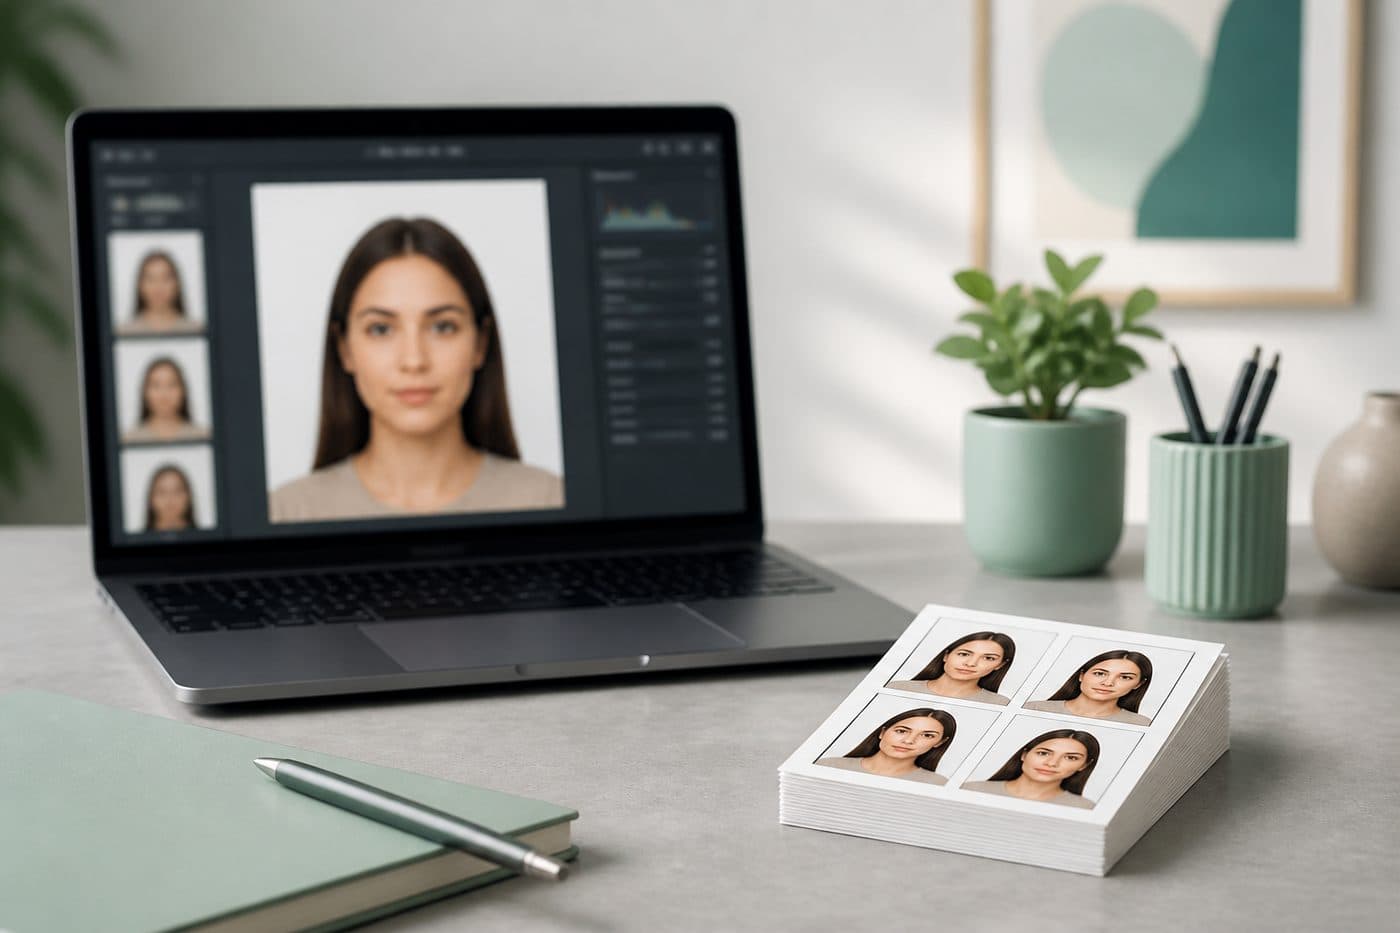
51×51 mmと頭部サイズ
印刷する米国ビザ/パスポート写真は51×51 mmの正方形(公式表記は2×2インチ)。背景は無地の白またはオフホワイト。顎から髪の頂までおよそ25〜35 mm。デジタルでは頭が枠の約50〜69%。
眼鏡は禁止(稀な医療例外を除く)。直近6か月、中立の表情、視線はカメラ。頭部比率が間違っていると、アップロードが通っても領事が却下できます。
よくあるエラーと対処
240 KB超: 先に600×600 JPEGへ縮小してから圧縮。正方形でない/600未満: 長方形の自撮りやスクリーンショットは不可。HEIC: iPhoneを「互換性優先」にするかJPEG書き出し。
背景が白でない/影: CEACはこれでも落ちます。圧縮しすぎ: ブロックノイズは品質検査に落ちます。同じ小さいファイルを何度も潰さず、原本から書き直してください。
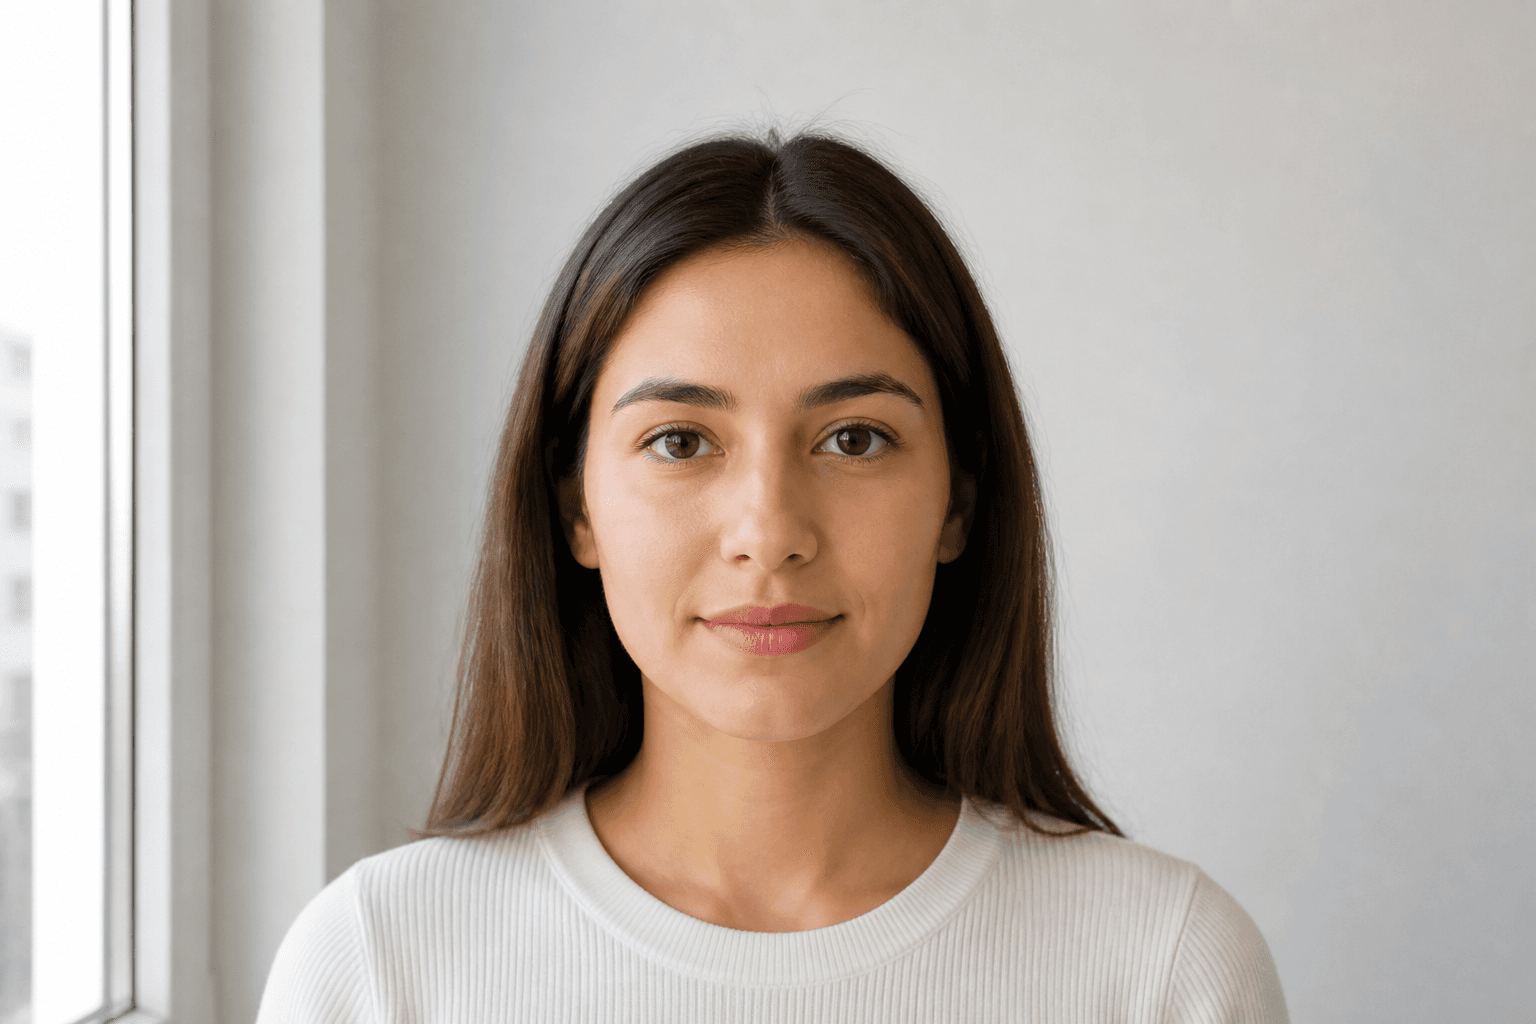
手順:アップロードを通す
- 1
正面の鮮明な1枚を撮るか選ぶ。
- 2
米国ビザ/パスポートを選ぶ。
- 3
FotoPass AIが51×51 mmトリミング、白背景、頭部比率を適用。
- 4
600×600で240 KB未満のJPEGを保存。
- 5
DS-160に載せ、確認ページで顔を見る。
まだXならブラウザキャッシュを消し、ファイル名に特殊文字を使わず、拡張子は.jpg。面接用に同じファイルからマットの51×51 mmプリントを。