


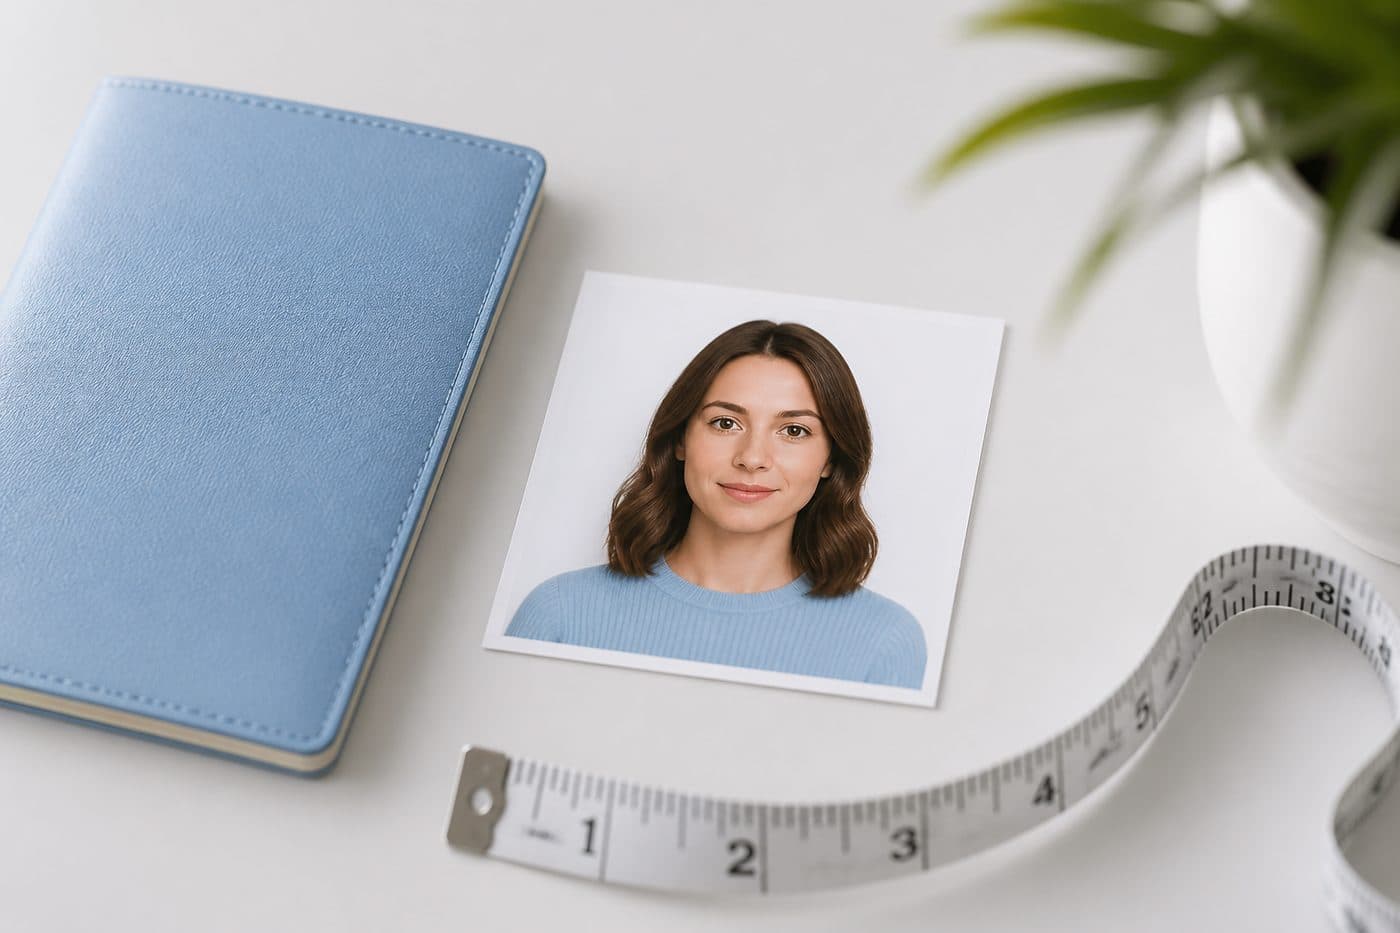
DS-160 US visa photo upload error — how to fix it
CEAC “photo does not meet requirements”: fix 2×2 inch crop, 600×600–1200×1200 JPEG and the 240 KB cap.
What the error means
DS-160 uploads go through the Consular Electronic Application Center (CEAC). “Photo does not meet the requirements” is not one cause — the portal checks square ratio, pixels, file size, JPEG and sometimes head/background together.
Use our AI-powered United States Passport Photo Tool to auto-crop your image in 3 seconds.
An X instead of your photo on the confirmation page means the upload failed. Fix the file before the appointment even if the desk will also want a printed 2×2 inch.
Official photo requirements
- Document size applied
- Face alignment checked
- Background prepared
Size
2 × 2 in
Background
White
Digital photo
602 × 602 px

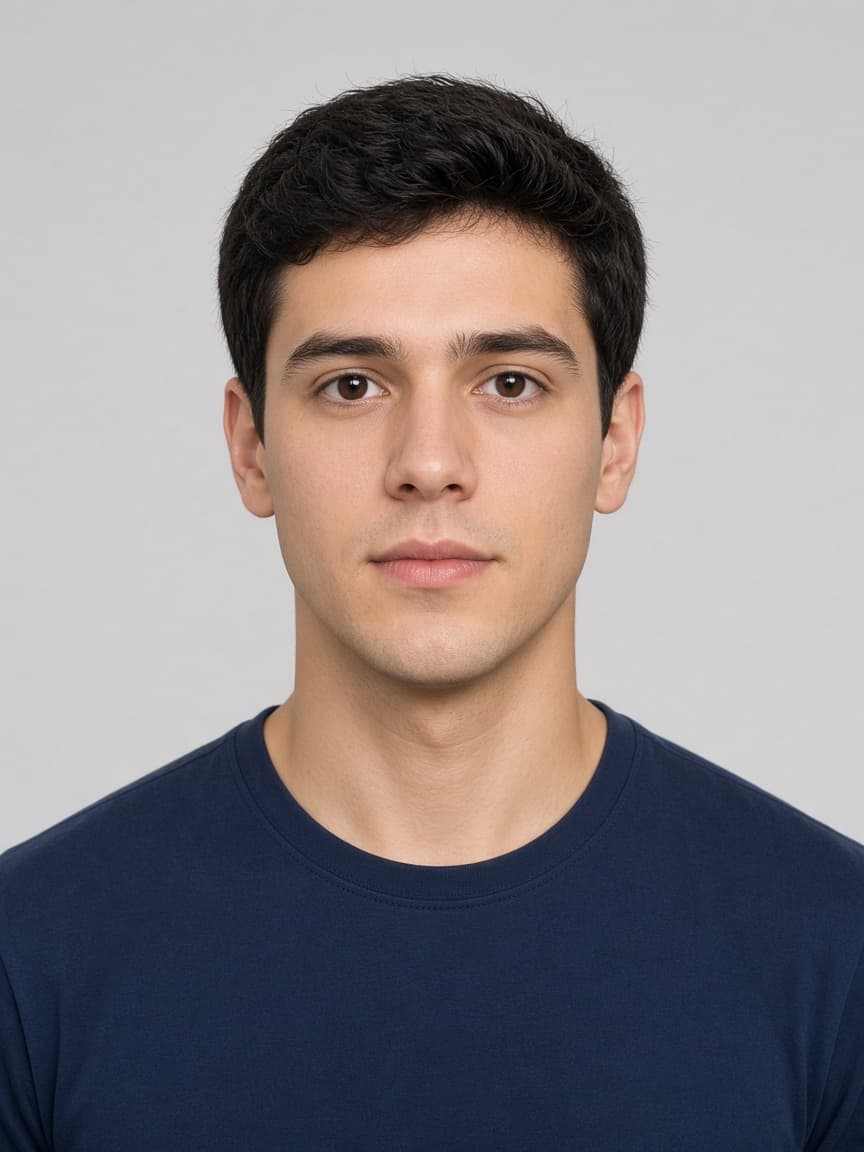
Official digital specs (travel.state.gov)
Square image: height equals width. Pixels 600×600 minimum, 1200×1200 maximum. Format JPEG only. 24-bit sRGB colour. File size 240 KB or less. Keep compression around 20:1 or better.
Phone HEIC/PNG or a 3–8 MB original will not pass. Crop square and scale to 600×600 first, then bring size under 240 KB — crushing quality first creates blocky JPEG artefacts and a different rejection.
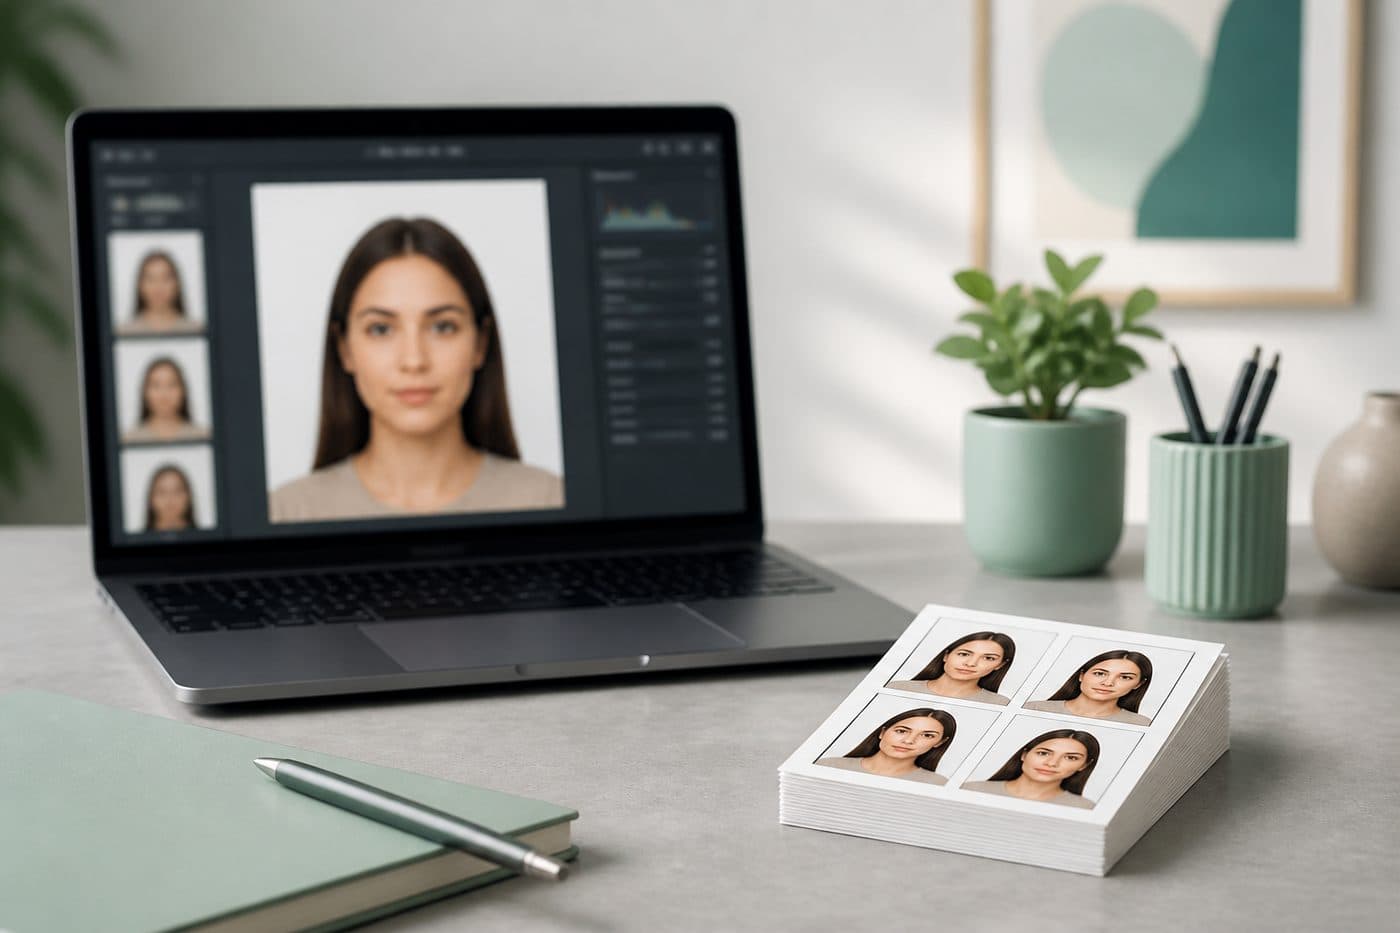
2×2 inch and head size
A printed US visa/passport photo is a 2×2 inch square. Background plain white or off-white. Head from chin to top of hair about 1–1⅜ inches; digitally the head should fill about 50–69% of the frame.
No glasses (rare medical exception). Last 6 months, neutral expression, eyes to camera. A wrong head ratio can still be refused by the officer even if the file uploaded.
Most common errors and the fix
Over 240 KB: shrink to a 600×600 JPEG first, then compress. Not square / under 600 px: do not upload a rectangular selfie or a screenshot. HEIC: set iPhone to Most Compatible or export JPEG.
Background not white / shadows: CEAC can fail that too. Over-compression: blocky blur fails quality checks. Re-export from the original — do not recompress the same small file.
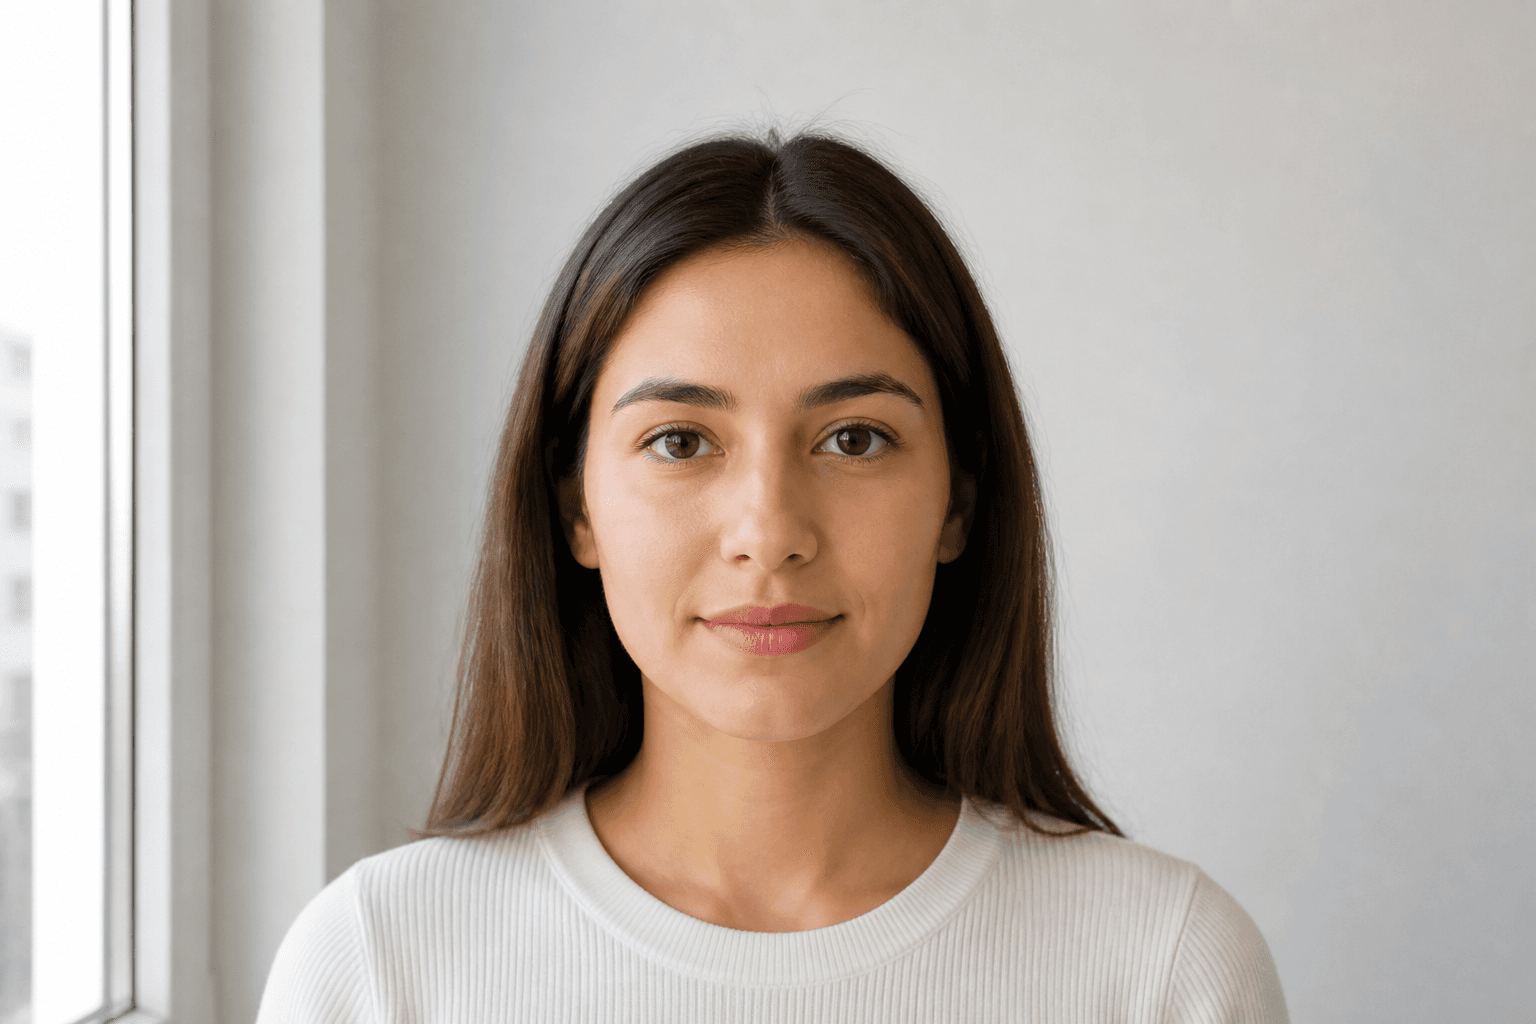
Step by step: get the upload through
- 1
Shoot or pick a sharp front-facing frame.
- 2
Choose the US visa / passport document.
- 3
FotoPass AI applies the 2×2 in crop, white background and head ratio.
- 4
Download a JPEG at 600×600 under 240 KB.
- 5
Upload to DS-160 and confirm your face on the confirmation page.
If you still get an X, clear the browser cache, avoid non-ASCII characters in the filename and keep the .jpg extension. Print a matte 2×2 inch from the same file for the interview.